")
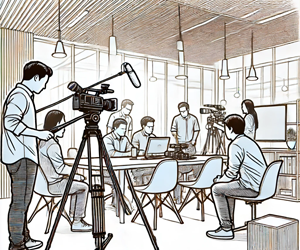
As an iPhone cinematographer, creating a cinematic look on your new iPhone can be a fun and rewarding experience. First, however, it’s essential to understand the limitations of your equipment.
While a modern mobile phone can record video with excellent results and work great in natural light. But the lack of control over depth of field and limited low-light performance can affect the quality of your videos.
But the good news is with a few tips, you can create professional-looking video. You can achieve a cinematic look when filming with your iPhone. These tips include shooting horizontally, taking control of your camera settings using an app like Filmic Pro. In additon, change the frame rate to 24 fps, using the lens on the back, and keeping your lens clean, shoot in the best light, and fill your frame with your subject.
With these tips , content creators can create stunning cinematic images, and short films to capture the viewer’s attention and immerse them in your story.
Table of contents
- What is a cinematic video?
- #1 Shoot horizontally
- #2 Take control of your settings and download an app.
- #3 Change the frame rate
- #5 Keep your lens clean
- #6 Shoot in the right light – golden hours.
- #7 Fill the frame with your subject
- #8 Composition
- #9 Use different focal lengths
- #10 Stabilize Camera movement
- #11 Add music
- #12 Learn basic editing
- Conclusion

What is a cinematic video?
Do you want to create cinematic images that look like what you get in feature films? First, you have to know what cinematic means.
“Cinematic” refers to the visual and storytelling techniques used in filmmaking to create a sense of narrative or emotional impact. It can include techniques such as camera angles, lighting, composition, sound design, and editing; all used to create a specific mood or atmosphere.
Cinematic images often have a high degree of visual polish and can be visually striking, immersive, and emotionally engaging.
Cinematic images aim to create an experience for the viewer beyond just capturing a scene or moment. Instead, it aims to create a narrative or emotional response that draws viewers into the depicted story or scene.
So simply put, they are conventions of cinema in a Hollywood movie and are very much about storytelling and require more than just pointing and shooting.
#1 Shoot horizontally
The first step for a newbie is to take your camera and shoot horizontally.
Your camera may have different ratios to shoot with, from 16:9, which is modern HDTV standards, to film ratios such as cinemascope 2.39:1 or 2:35:1 for wide-angle images.
But if you are all new to this, stick with a horizontal image and spend time learning the pros and cons of the other ratios. By the way, the video will usually express ratios as 16:9, while film expresses those ratios as 2.39:1
Whatever you set your setting to internally, you need to shoot horizontally. Nothing looks more like something shot on the phone as a vertical video image.
#2 Take control of your settings and download an app.
To achieve a more cinematic look when filming with your phone, it’s essential to have control over your camera settings. This will allow you to adjust the exposure, focus, and other settings to create the desired look and feel.
Some iphones such as the iPhone x, will not have all the same features as a later iPhone model, but the same principles apply. All of them can produce high-quality videos. For example, the later models have new camera features and the new cinematic mode.
Most settings on an iPhone can be overridden, but it takes time to find the correct sub-menu and remember it every time you want to make a change.
Using filmmaking apps, controls can easily be adjusted while your frame your shot is a great way to achieve this level of control.
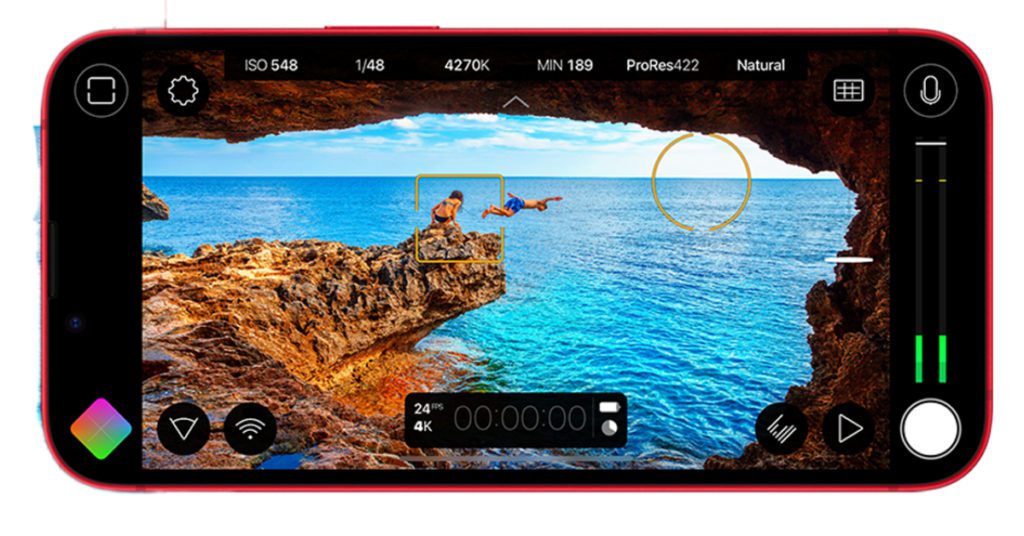
One of the best camera apps available is Filmic Pro, which offers a wide range of advanced features and settings for capturing high-quality video footage. With Filmic Pro, you can adjust video quality and image quality, frame rate, shutter speed, ISO, focus, and focal point, change into portrait mode, control the depth-of-field effect, rack focus, and more to create the perfect shot. Additionally, the app offers a range of presets and color-grading tools to help you achieve the desired look and feel.
While the camera app is not free, you can learn to adjust the settings manually on the mobile device within the iPhone very quickly and see the desired results.
#3 Change the frame rate
The iPhone’s default frame rate is 30 frames per second (fps). So get into your settings and select 24 frames per second (fps),which is considered to be cinematic for several reasons:
History and tradition: The 24 fps frame rate has been used in cinema for over a century, dating back to the early days of silent film. As a result, it has become associated with the cinematic aesthetic and the art of filmmaking.
Motion blur: When shooting at 24 fps, a natural amount of motion blur occurs between frames. This can create a smooth, cinematic look and make the image’s motion appear more natural and fluid.
However, it’s worth noting that higher frame rates can also significantly affect certain situations, such as action sequences or sports footage, and may become more common as technology continues to evolve.
But for now – shoot 24fps and an aperture at least twice the frame rate. For example, with 24fps, choose an aperture twice the film rate (48). Since it may not be available, choose the next higher at 50.
#4 Use the lens on the back
iPhones have a lens on the front to turn your smartphone camera into a selfie camera, and on the back where you can find one(older iPhones) or two or three lenses. Always use the back because the selfie lens is never as good.
#5 Keep your lens clean
This seems obvious, but it’s not uncommon to see smudges. And a smudge will distort the light in unintended ways.
Cleaning the lens on your iPhone is crucial to ensure you get the best possible photos and videos. Here are the steps to clear a lens on an iPhone:
Turn off your iPhone: Before cleaning the lens, ensure your iPhone is turned off. This will help prevent damage to your device and ensure you can see the lens clearly.
Locate the lens: The lens on your iPhone is on the back of the device. Depending on the model of your iPhone, there may be one or more lenses.
Use a microfiber cloth: Clean the lense with dry microfiber cloth. Do not use abrasive materials or liquids which can damage the lens.
Wipe the lens: Gently wipe the lens with the microfiber cloth in a circular motion. Make sure to remove any smudges or fingerprints that may be on the lens.
Repeat if necessary: If there are still smudges or dirt on the lens after the first wipe, repeat the process until the lens is clean.
Turn on your iPhone: Once you have finished cleaning the lens, you can turn on your iPhone and start taking photos and videos.
It’s essential to regularly clean the lens on your iPhone to ensure that you get the best possible results. Additionally, you can use a lens cleaning solution and lens cleaning pen for more stubborn dirt or fingerprints, but make sure they are designed for use on camera lenses and are safe for use on your iPhone.
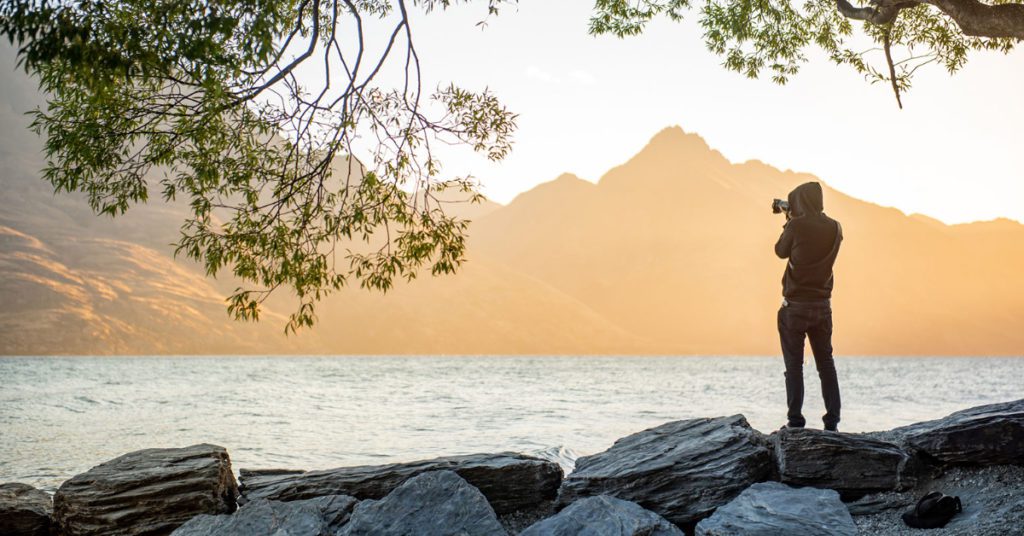
#6 Shoot in the right light – golden hours.
It’s always important to shoot in good lighting but not all light is created equal.
The light becomes softer and warmer when the sun is lower in the sky in early morning or evening, which are the golden hours. It will enhance your images.
After the golden hour, the sun rises higher in the sky, and the light becomes harsher and brighter. Unfortunately, this type of light is less flattering to videos because it creates strong shadows and highlights, making the image appear flat and lacking depth.
During midday, the sun is directly overhead, the light is even harsher, creating unflattering shadows on people’s faces. This type of light is often called “hard light” and is generally not ideal for most types of photography, especially portraits or landscapes.
In addition to creating harsh shadows, bright sunlight can also cause the colors in an image to become washed out or oversaturated, which can lead to a loss of detail and vibrancy.
Overall, the time of day and the quality of light are essential factors to consider when taking photos. Understanding how light affects your images can help you capture more flattering and impactful cinematic shots.
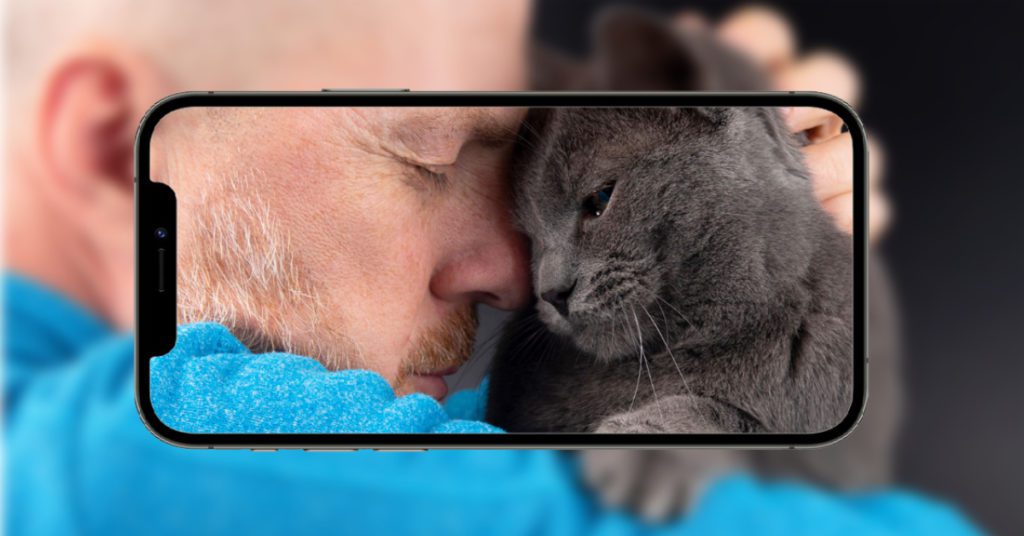
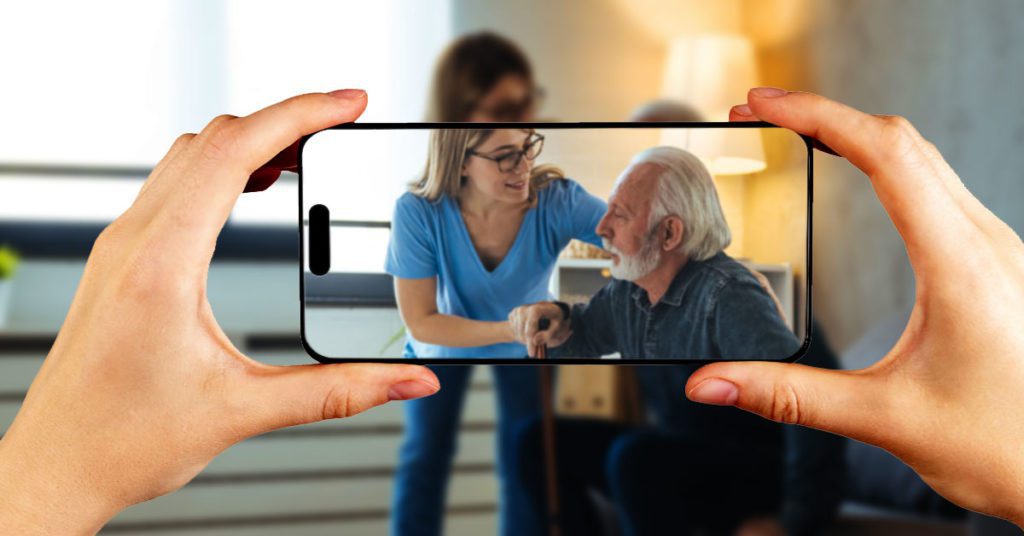
#7 Fill the frame with your subject
Always fill the frame with your subject – this is one is essential for videographers. Unfortunately, many people make the mistake of filming too far away, which can be a real problem.
Imagine watching a video where the subject is not close enough to see the details and then zooming in to try and make up for it, only to lose quality in the process. It could be a better viewing experience.
Trying to get closer to your subject also creates depth in your footage, which is crucial for making your videos more exciting and engaging. So remember – always fill the frame with your subject to create the best possible video.
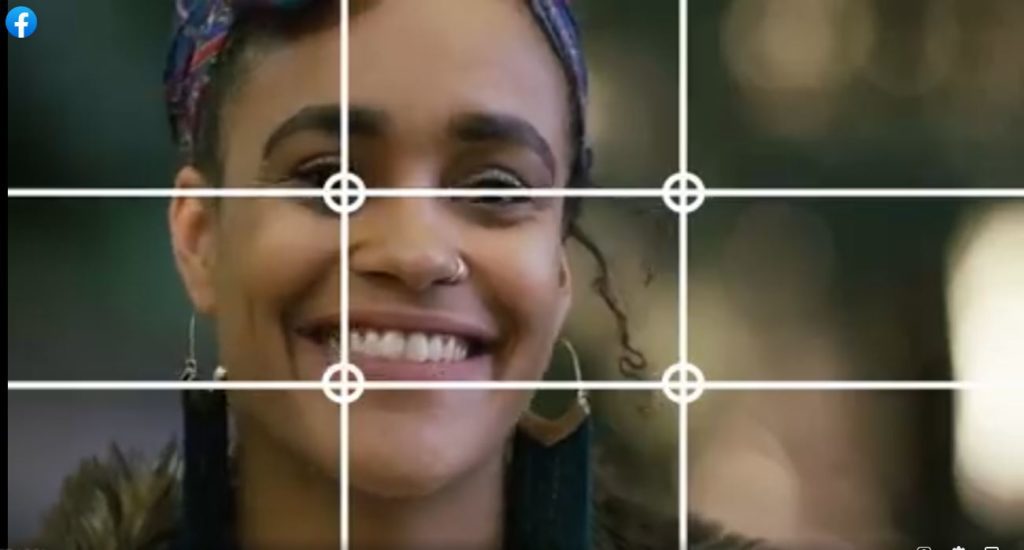
#8 Composition
As a cinematographer, achieving the best composition is crucial to creating compelling visual storytelling.
Follow the rule of thirds: One of the basic principles of composition is the rule of thirds. This involves dividing the frame into a 3×3 grid and placing your subject along one of the intersecting lines, a focus point. This can create a more balanced and visually pleasing composition.
Use leading lines: Leading lines can draw the viewer’s eye to the subject of the shot. These can be anything from a road or a path to a line of trees or a fence. Using leading lines can create depth and interest in the shot.
Consider the background: The background can make or break a shot. Ensure it is not cluttered or distracting and does not take away from the subject. Also, pay attention to the colors in the background, as they can affect the overall tone of the image.
Pay attention to framing: Framing can draw attention to the subject or create a mood. This can include using natural frames like a window or a doorway or framing the subject with objects in the foreground.
Think about movement: Movement can add interest and energy to a shot. This can be achieved through camera movement, the movement of the subject, or the movement of objects in the background.
Use contrast: Contrast can create depth and make the subject stand out. This can be achieved through lighting, color, or shadows.
Remember, these are just some basic principles. As an iPhone cinematographer, you should always be experimenting and pushing the boundaries of composition to create visually stunning and unique shots that tell your story in the best possible way.
#9 Use different focal lengths
A cinematographer would use different focal lengths for a few reasons, including:
Changing the perspective: Different focal lengths can change the perspective of a shot, making the subject appear closer or farther away. This can create a sense of intimacy or distance between the subject and the viewer.
Controlling depth of field: The focal length can affect the depth of field in a shot, determining how much of the image is in focus. A longer focal length can create a shallower depth of field, blurring the background and bringing attention to the subject.
Creating a specific look: Different focal lengths can create different looks and moods. For example, a wide-angle camera lens can make a space feel larger and more open, while telephoto lenses can compress the room and make the subject feel more isolated.
Matching shots: When filming a scene, matching the images to create a cohesive look is essential. Using the same focal length in all shots can make sense of continuity, while using different focal lengths can create visual interest and help tell the story.
Ultimately, using different focal lengths allows a cinematographer to have more control over their film’s visual language and to create more dynamic and engaging shots.
#10 Stabilize Camera movement
A gimbal can stabilize an image on an iPhone. A gimbal mounts a camera then uses motors and sensors to keep a camera steady and level during moves. Many are designed for smartphones, including iPhones, and can be used to create smooth and stable footage when shooting videos.
Gimbal are useful when filming action shots or moving subjects. It can also help create smooth panning or tracking shots, where the camera follows a subject through a scene. Using a gimbal can significantly improve the quality of the footage captured on an iPhone.
#11 Add music
If you just want to play your video as single shots, you may never take the video from your phone. But if you plan to edit, for example, home movies about your travels, add music.
Music in a film can convey a wide range of emotions and ideas, and its specific message can vary depending on the scene’s context or the whole film. Here are a few possible ways that music in a movie can be interpreted as an editorial statement:
Setting the tone or mood: Music can help establish a scene’s overall atmosphere, emotional style, or the entire film. For example, a tense, ominous score might suggest something bad is about to happen, while a bright, upbeat melody might indicate a happy or joyful moment.
But be careful what you add. If you only plan to show it on your own computer, it doesn’t really matter what music you add in terms of copyright. But post it on YouTube, and it will attract attention, and you will likely lose the soundtrack when YouTube mutes it.
#12 Learn basic editing
This article is more about how to get a more cinematic feel to your footage without editing it. But there is so much that can be added.
Basic video editing can significantly enhance the cinematic feel of a video shot on an iPhone, even for non-professional video makers. Here are a few ways that basic editing can help:
Storytelling: Editing allows you to control the flow of your video, emphasizing certain moments and creating a narrative arc. By selecting the most exciting or relevant shots and compellingly sequencing them, you can create a cohesive and engaging story that draws in the viewer.
Pace and rhythm: Editing also allows you to control the pace and rhythm of your video. For example, you can speed up or slow down certain shots or sequences to create a sense of tension or release or use jump cuts to create a sense of energy and movement.
Visual interest: By adding transitions, text overlays, and other visual effects, you can add variety and interest to your video. This can help keep the viewer engaged and make your video more visually appealing.
Audio enhancement: Basic editing also allows you to adjust the audio in your video. You can change the levels of different tracks, add sound effects or music, and even remove unwanted background noise to create a more polished and professional-sounding video.
All these features can be found in Adobe Premiere, final cut pro and DaVinci Resolve (free version)
Overall, basic video editing can be a worthwhile skill to learn, even for non-professionals. With just a few simple techniques, you can significantly enhance the quality of your iPhone video and add a cinematic effect, making them more engaging and enjoyable to watch.
Conclusion
In conclusion, creating a cinematic look on your iPhone is possible but requires some knowledge and techniques.
While the iPhone camera has limitations, understanding them can help you work within those limits and produce better images. The key to achieving a cinematic look is to focus on visual and storytelling techniques used in filmmaking. It will create a sense of narrative or emotional impact. Shooting horizontally, taking control of the settings, change the frame rate, use the back lens to achieve cinematic images. With attention to detail, remarkable cinematic images can emerge from your iPhone. Remember, it’s not just about pointing and shooting. It is about storytelling and creating an immersive and emotionally engaging experience for the viewer.
")